
Are your sales reps losing hours to manual data entry instead of closing manufacturing deals? Getting the HubSpot Sales extension right is the first step toward turning your inbox into a high-performance CRM tool.
Choosing the right HubSpot Sales version for your team
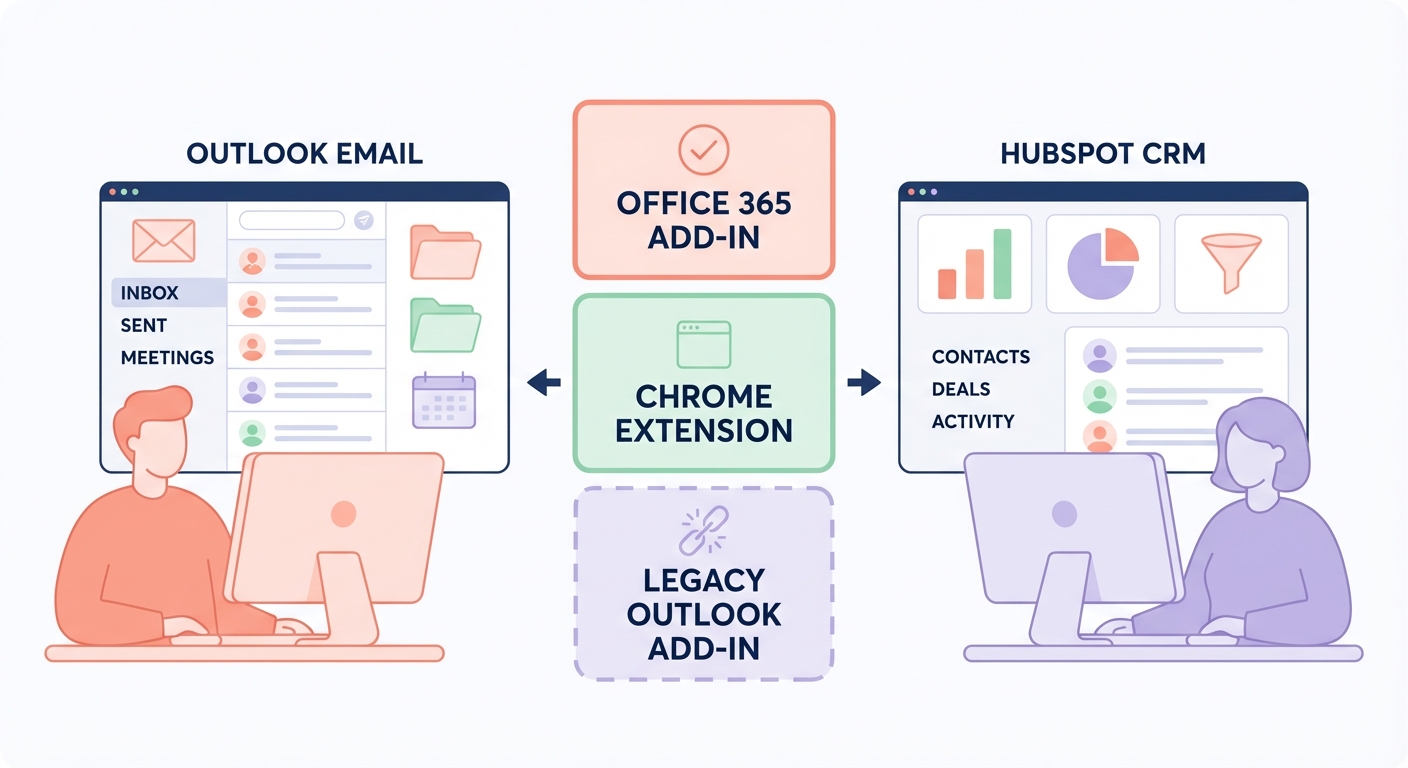
HubSpot offers different tools depending on how your industrial sales team accesses their email. Selecting the correct version prevents sync errors and ensures your sales activity tracking is accurate across the organization.
The Office 365 Add-in is the modern standard recommended for most manufacturing environments. It provides a consistent experience across Outlook on the web, Outlook Desktop for both PC and Mac, and the “New Outlook” for Windows. For teams operating in older, specific Windows-based environments, HubSpot still offers the Legacy Outlook Desktop Add-in. However, this version is no longer actively developed and is prone to “unloaded” status errors, making it less reliable for high-volume outreach.
If your team prefers working in a browser, the HubSpot Sales Chrome extension is an excellent alternative. It is particularly effective for teams using Outlook on the web through a Chrome browser, offering a stable interface for personalizing outreach strategies without the need for desktop installations.
System requirements and compatibility checks
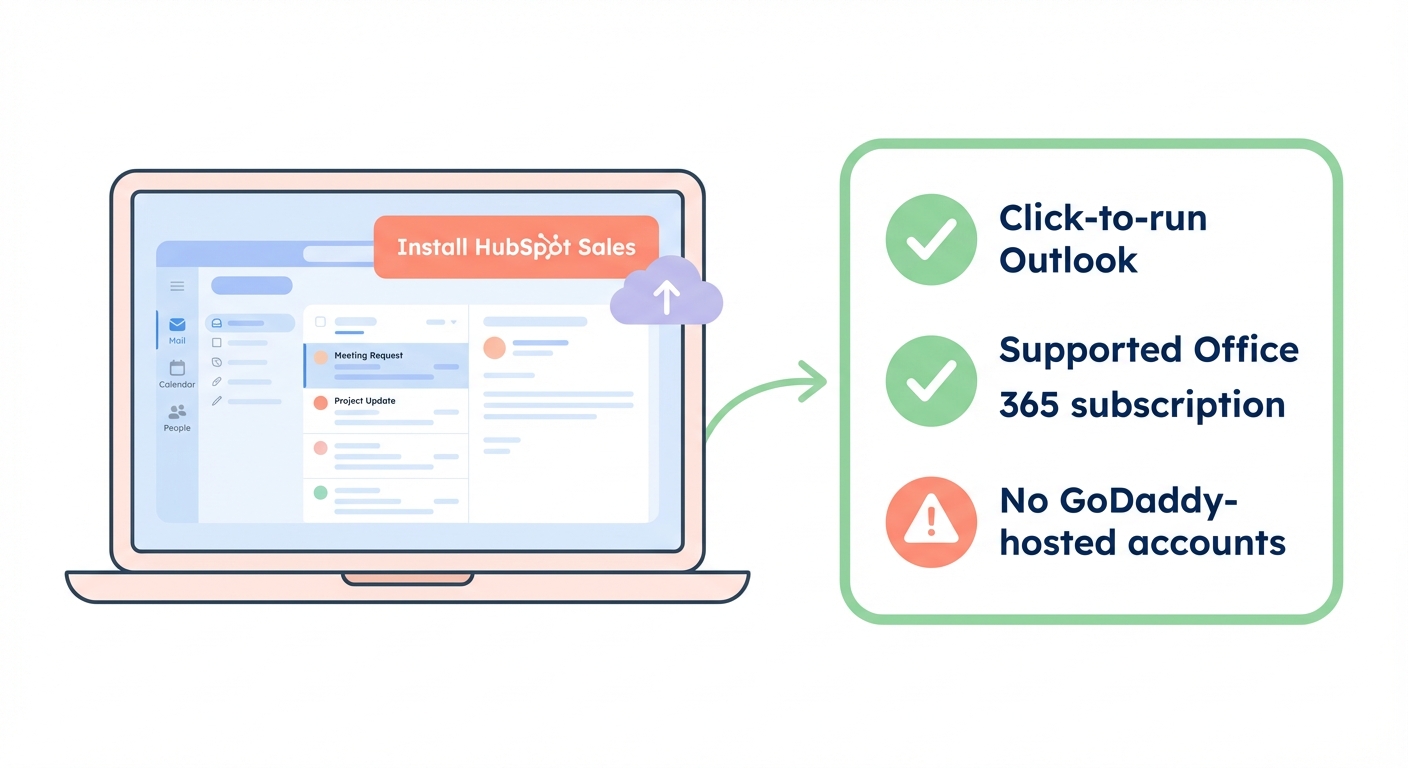
Before starting the installation, you must verify that your digital environment meets HubSpot’s technical standards. Traditional manufacturing firms often operate on legacy software, which may require updates to ensure a CRM for manufacturing sales functions correctly.
- Verify that your Outlook version is the “Click-to-run” variant by navigating to File, then Office Account, and selecting About Outlook. The Microsoft Store version of Outlook is generally incompatible with these tools.
- Ensure your subscription is supported, as the add-in requires Office 365 Business Premium, Business Essentials, or Personal accounts.
- Check your hosting provider, as GoDaddy-hosted Office 365 accounts are currently incompatible with the HubSpot add-in. In these cases, your team should use the Chrome extension or HubSpot’s BCC address to log messages.
How to install the HubSpot Sales Office 365 add-in
The Office 365 add-in is the most reliable method for integrating CRM with sales tools while maintaining a smooth user experience.
If you are using the Outlook Desktop app, you can find the extension by clicking the Get Add-ins or All Apps icon on the Home ribbon. Simply search for “HubSpot Sales” and click Add to begin the process. For those working in Outlook Web, the process is similar: open any email, click the three dots in the top right corner, and select Get Add-ins to find the listing.
During setup, the add-in will request permissions to access and modify message content. This is a critical step that allows HubSpot to automatically log the email body, subject lines, and attachments into your CRM. Once these permissions are granted, your team can access meeting scheduling software for sales teams and pre-built email templates directly from the Outlook sidebar.
Troubleshooting common Outlook integration issues
Technical friction can stall a sales cycle. If your “Log” and “Track” buttons disappear or emails fail to sync, common environmental factors are usually to blame.
One of the most frequent issues involves the email format itself. Tracking only works when emails are composed in HTML mode; if a rep is sending messages in Plain Text, the HubSpot tracking pixel cannot fire. Additionally, if the add-in becomes disabled or shows an “Unloaded” status, you may need to perform a clean reinstall. This often involves uninstalling Microsoft Visual Studio Tools 2010 and then reinstalling the HubSpot Sales component to refresh the connection.
Login loops are another common hurdle. If Outlook repeatedly prompts for credentials, verify that your inbox is properly connected under the Integrations section of your HubSpot settings. Finally, if you notice that tracked emails are not reaching prospects, you should audit your email deliverability in automated outreach. Ensuring your SPF and DKIM records are correctly configured prevents your tracked messages from being flagged as spam by aggressive industrial firewalls.
Turning tracked emails into a predictable sales engine
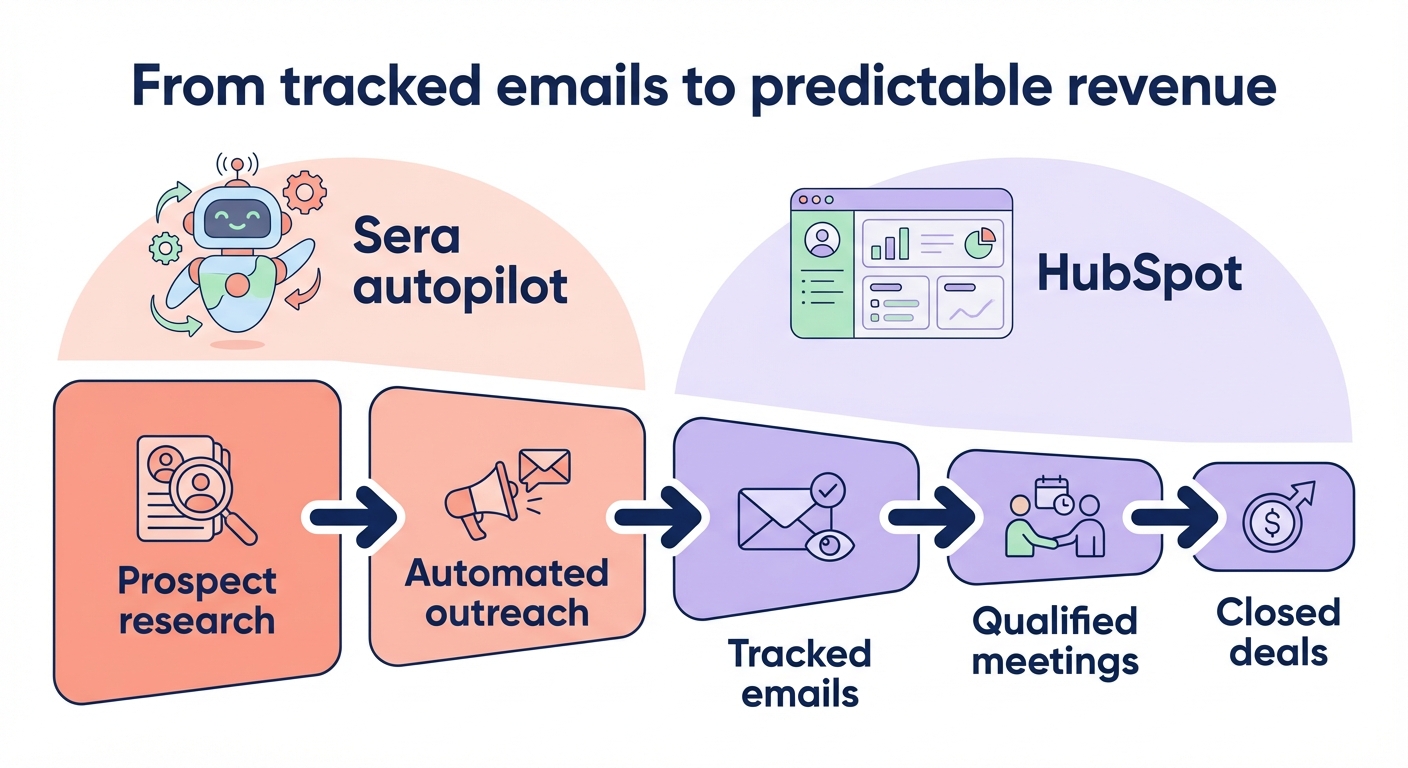
Installing the extension is a foundational step, but a tracking tool is only as effective as the volume of leads flowing through it. While the HubSpot extension tracks the conversations you already have, you need a proactive system to initiate those high-value connections.
Sera’s AI-powered autopilot fills this gap by finding the right decision-makers and initiating research-driven conversations on your behalf. By combining HubSpot’s activity tracking with Sera’s precision outreach, you move away from manual administration and toward a predictable revenue engine. This allows your sales engineers and executives to spend less time on data entry and more time in the boardroom closing technical deals.
Stop wasting hours on manual prospect research and start focusing on high-value sales. Book a demo with Sera to see how AI-driven outreach can fill your HubSpot pipeline automatically.